Kits are shipping now! Order early to give your group plenty of time to make and wear their poppies before Remembrance Day.

Questions? Contact the project. We answer within two school days.
Questions? Contact the project. We answer within two school days.
Questions? Contact the project. We answer within two school days.
Make, wear, plant a poppy
From pulp to a planted poppy. The whole process, and what your group needs to supply along the way.
Step 1
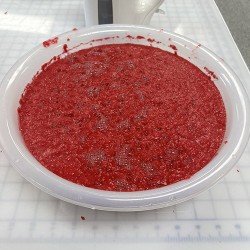
Make the seed paper
Blend paper pulp with poppy seeds and psyllium powder. Press it through a framed screen into sheets, then let it dry. That dried sheet is the seed paper everything else is cut from.
Step 2
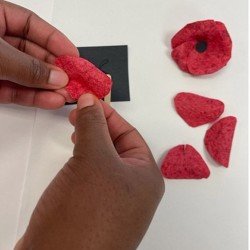
Cut and assemble the poppy
Cut, shape and pin your poppy for November 11. There are two patterns in the kit, so a whole school can run the same unit at two levels.
Step 3
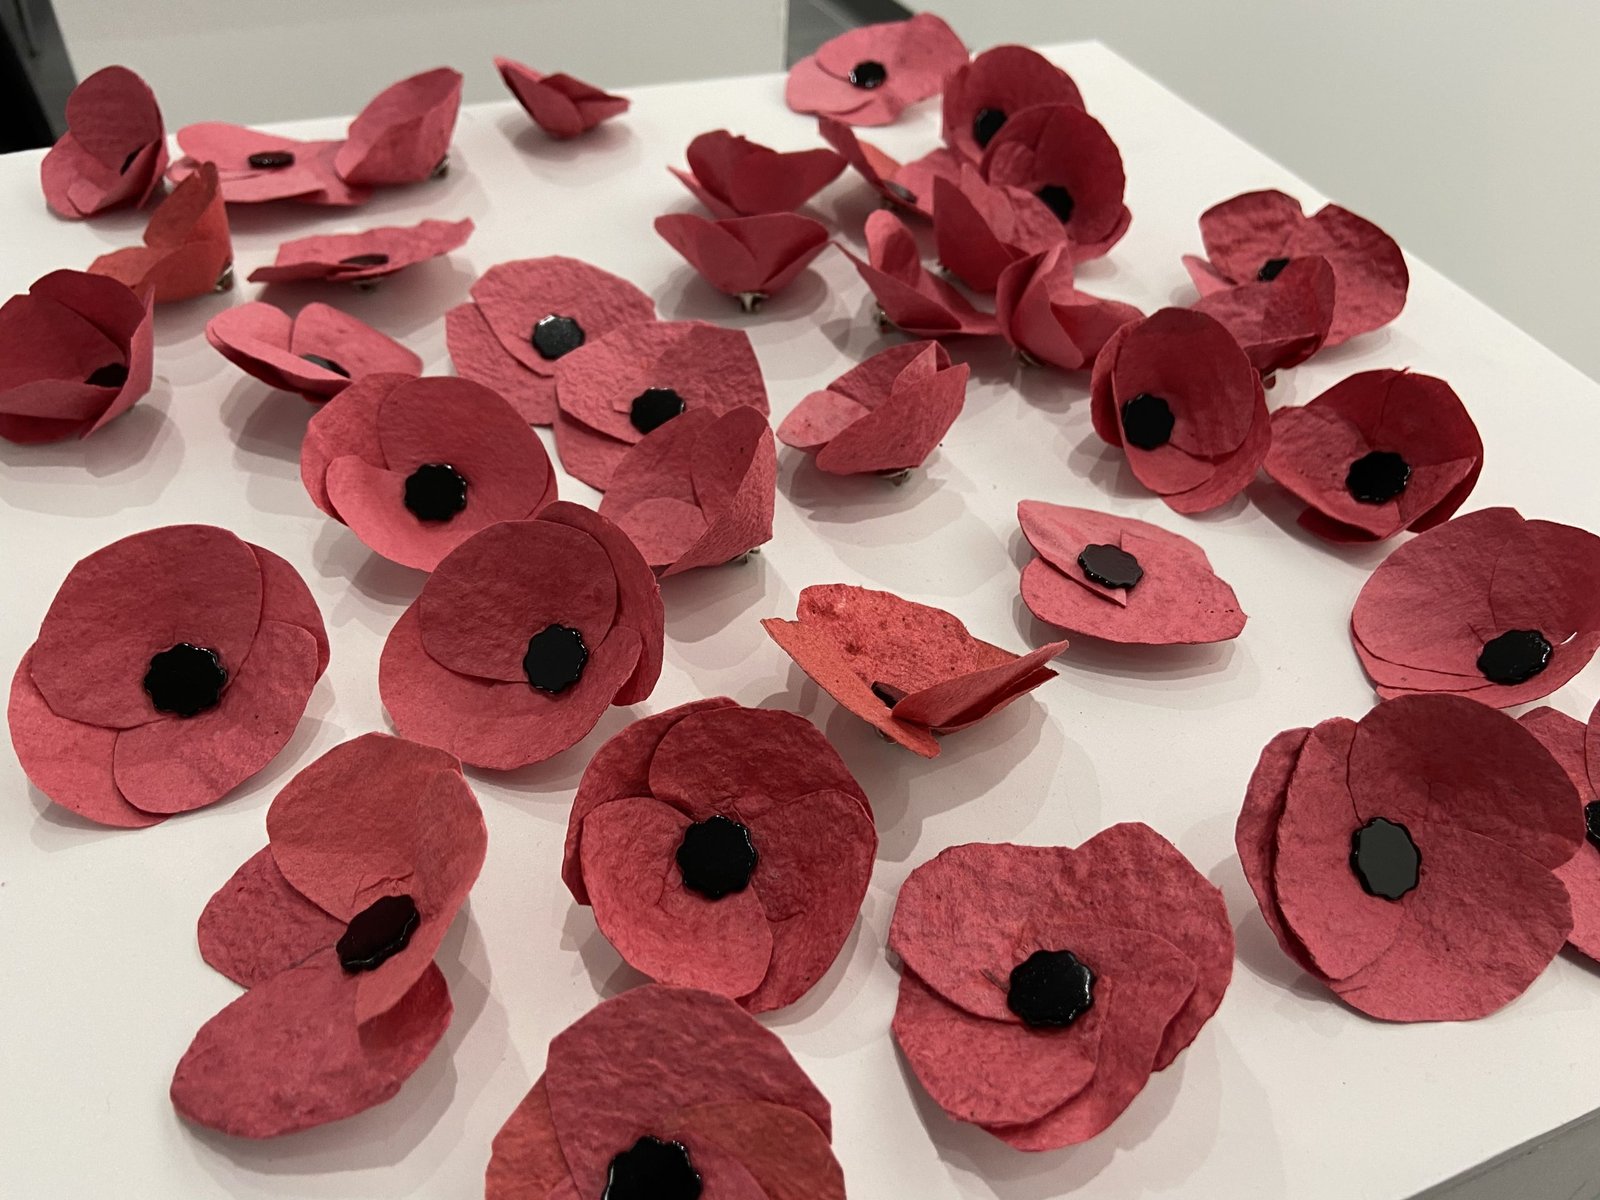
Wear it on November 11
Pin the poppy on and wear it for Remembrance Day, the same way you would wear the traditional poppy, as a personal act of remembrance.
Step 4
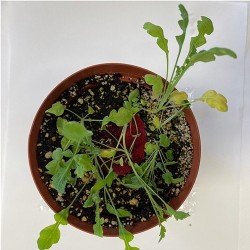
Plant it in the spring
Wear your poppy for Remembrance, then plant it outdoors in the fall or in a pot or garden in early spring. As the paper breaks down, the embedded seeds can germinate and grow, allowing the experience to continue beyond November 11.
Making Seed Paper
See exactly what is in the kit
Kits are $12 each, plus HST and shipping. One kit covers a class of about 40 students.